- Home Page
- RVing Tips & Tricks
- How to Winterize Your RV
How to Winterize Your RV
9 Steps to Protect Your Rig This Winter
If you’ve procrastinated on winterizing your RV, don’t wait any longer!
By Connie Hays
Mobile Home Parts Store
It is now time to learn how to winterize your RV
If you’ve procrastinated on winterizing your RV, don’t wait any longer! If you live in a cold climate, you need to take several steps to prepare your RV for the winter months. It is now time to learn how to winterize your RV
We’ve broken down the steps on how to winterize your RV to 9 steps. You need to do them all (or take your RV to a dealer and pay them to do it).
NOTE: Every RV is different. Check your owner’s manual to find the locations of the parts that you need to winterize.
Fix any broken parts, especially plumbing, BEFORE winterizing.
1. How to winterize your RV plumbing
One of the most important steps in how to winterize your RV is Draining the holding tanks first. Connect the macerator hose to drain in floor. You must get ALL the water out of these tanks before winterizing. The tanks will freeze and be damaged.
Next, the freshwater tank.
Drain the water heater. Remove the cover of the water heater.
IMPORTANT SAFETY WARNING: First, pull the pressure release valve to ensure that all the pressure is out of the tank. Then drain the tank. Some RVs (those with steel tanks) will have an anode rod. You loosen this to drain the tank.
Use an air compressor to blow out the plumbing. Don’t go over 30-40PSI. Use a pressure adapter to attach the incoming water hookup to the air compressor. Blow out all the remaining water in the water heater.
Next, go inside to bypass the water heater. This may vary depending on your model. Most water heaters have a bypass loop which you can activate by turning on the bypass valve and turning off the input and output valves to the heater.
Now you’ll need to go around and, one by one, open every faucet inside the RV and leave it open until nothing but air comes out. You should only open one faucet at a time, so that all the air pressure is directed to clearing that water line. Note that hot and cold need to be drained separately, even if the sink has only one faucet handle.
For the toilet, hold the flush button lever just a little until nothing but air comes out.
You will need to clear the outside shower this way, too.
Once you have blown out all the faucets, you can disconnect the air compressor from the city water intake.
Now it’s time to put RV antifreeze into your plumbing.
IMPORTANT SAFETY WARNING: Do NOT use automotive antifreeze. It contains propylene glycol, which will kill you.
RV antifreeze is pink. It will not hurt you if you ingest some in the spring.
Not everyone does this next step, but Mike Wendland and Hank suggest it in this video on winterizing your RV. You pump antifreeze in right at the water pump rather than filling the fresh tank with antifreeze. As Hank explains, when you fill the tank with antifreeze, the taste of antifreeze sticks with you almost all camping season. Yuck! With this technique, you don’t get any antifreeze into your tank.

Here’s how to do it. Consult your RV owner’s manual to figure out where the water pump is on your model. Remove the inlet hose from the water pump. You can find this by locating the white strainer on the inlet side of the pump. Now attach a hose to the inlet of the pump and stick the hose into a bottle of antifreeze.
Now turn the water pump on. One by one, go to each faucet and run hot and cold separately until they show a flow of pink. Do the same thing with the toilet and outside shower.
Replace the cap or anode rod on the water heater. Seal the threads with Teflon tape or pipe dope before screwing it in. Close up all water tanks as well.
Pour some antifreeze down every drain in the RV. That’s it—you’re done with the plumbing part.
2. Remove food and personal items
Use common sense and good hygiene here. Any type of food left in the RV will attract mice and bugs, so clean out every food storage area completely. Take all cold food out of the fridge and freezer. Even dry goods in cans, bags, and plastic containers have to go. The cans could freeze and explode, and mice can chew through plastic.
Take out all laundry and cloth products as well. If these have any type of food residue on them, they will attract pests even if you’ve removed all your food.
Lastly, remove any valuables, just to be on the safe side.
3. Clean the inside of your RV thoroughly
Part of how you winterize your RV includes Wiping down every surface, especially those that might have food residues on them. Vacuum as necessary.
Thaw your freezer completely and let it dry out with the door open. Leave the freezer and fridge doors open and block them open so they don’t close. Put a fresh, open box of baking soda in each place where food is stored to keep everything odor-free for spring.
4. Turn off electrical systems
You need to turn off your RV’s water pump, water heater, and other electrical appliances. Throw the main circuit breaker to the OFF position. Remove all batteries from small appliances.
5. Cover all vents and openings
Block the exhaust pipe with steel wool. Rodents love to crawl in here. You should also cover all vents and openings with screening. Close all roof vents and make sure the roof is in good repair. Check window seals for caulking failures and repair them as necessary.
Basically, you need to seal the RV so that mice and insects can’t get in. You don’t want to find a surprise in the spring.
6. Take weight off tires
If you leave your RV parked on its tires all winter, the tires could develop flat spots. If they are under-inflated, or if they lose some air over the course of several months, the sidewalls could begin to crack, which will make the tires unsafe to ride on in the spring.
You need to take some weight off your RV tires while it’s parked for the winter. You need to park it on a hard, level concrete pad or level asphalt strip. Don’t Park the RV on bare ground, mud, grass, or gravel.
If your RV has leveling jacks, you can use these to raise your rig off the ground. Follow your owner’s manual. If your RV doesn’t have leveling jacks, you can use external jacks, as long as they are heavy duty and you’re parked on hard, level concrete or asphalt.
Note: You CANNOT use stabilizing jacks to park your RV for the winter.
If you don’t have any jacks you can use, you will need to move your RV occasionally. The goal is to rotate the tires about one half rotation. Just start the RV, put it in drive or reverse, and let it creep forward or backward about 3 feet. You can do this 2-3 times during the winter, and your RV will be fine.
You should always creep forward in the same direction. If you creep forward for the first rotation, then creep backward the same distance for the second rotation, you could end up with the tires in the same position as when you started, which would cancel out what you just did.
7. Cover your tires
You’ll want to cover your tires with RV tire covers. Along with taking the weight off the tires, covering them will help prevent cracking and dry rotting.
8. Cover your RV with a breathable RV cover
You need to keep your RV covered, but make sure you use a breathable cover. You don’t want mold and mildew forming under there when the temperature is above freezing. Cover your RV and tie down the corners of the cover. This will protect your RV all winter.
9. Keep the roof clear of snow
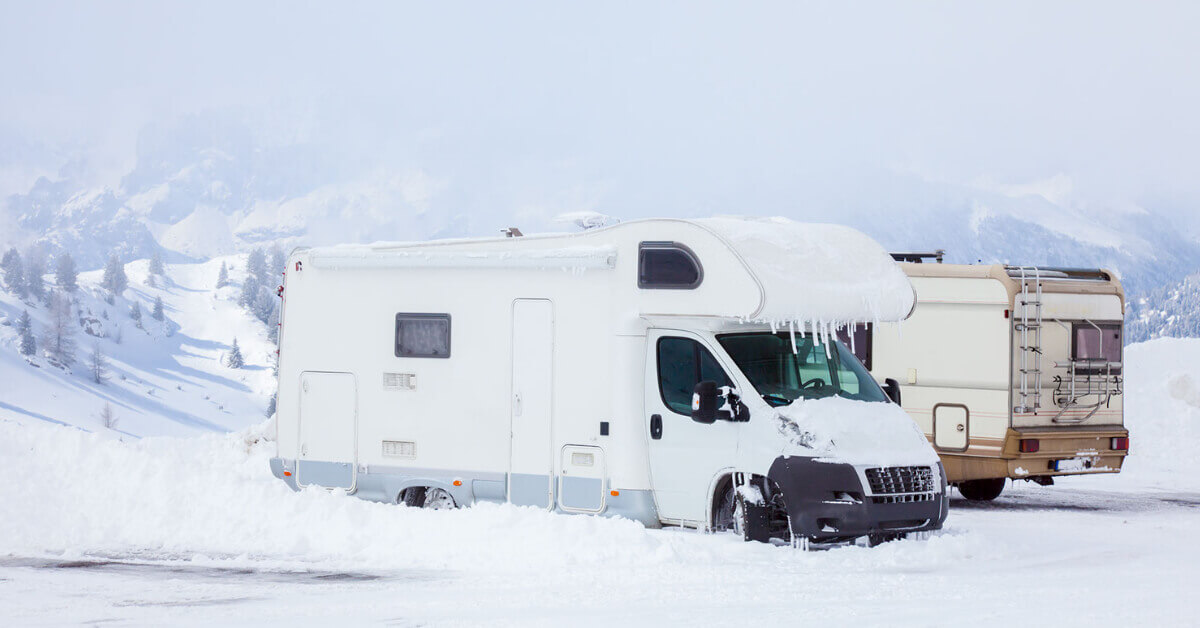
Unlike the roof on your house, your RV roof can’t hold the weight of snow. Any time you get fresh snow, you should clean the roof off as soon as possible. This will be easier before the snow has a chance to compress under new snow or, even worse, partially melt and freeze solid again. Use a short step ladder and a shovel, and be careful.
Hopefully these tips on how to winterize your RV have been helpful to you.
About The Author
Connie is a semi-retired camping enthusiast who is just getting into the RV lifestyle. She has written blogs in several places online and hopes to hit the road full time soon. You can see her posts at http://mobilehomepartsstore.com/latestnews/.


