FMCA's 10 Steps for RV A/C Maintenance
The average RV owner can perform this maintenance procedure in an afternoon


Summer is heating up! RVers, it's time to perform routine maintenance on your roof-top air conditioner(s). Follow these steps from FMCA and the "RV Doctor" Gary Bunzer to keep cool and extend the life of your RV's A/C system.
Performing Annual RV A/C System Maintenance
Overall, the average RV owner can perform this maintenance procedure in an afternoon. Prior to beginning, turn 120-volts AC power off at the breaker-box or unplug the RV from shore power.
Step 1
This is an easy first step; in fact, you are probably already familiar with this task. All A/C systems –home and RV – require filter cleaning; some as often as every three months. From inside the RV, access the A/C unit's filter(s). On some units, the interior air delivery shroud will have to be removed. Consult the owner's manual if in doubt. Remove and wash all the filters in warm water or simply vacuum them clean.
Step 2
Check the positioning of the thermostat sense probe. That's the thin, pencil-like, copper-looking device attached to the tiny tubing leading to the thermostat. Be sure it is situated in the direct flow of return air to the unit. Look closely for grime or film that may have accumulated from cooking oils and/or smoke.. Gently clean the sense probe if contaminates are found. Take special care not to kink the small capillary tubing leading to the probe.
Step 3
Check the visible electrical connections inside the A/C unit. To eliminate the possibility of road vibrations causing the wire nuts to loosen, always wrap them with electrician's tape.
Step 4
With the interior shroud removed, check the condition of the mounting gasket located between the bottom of the roof-top unit and the roof. It will be visible from inside the RV by looking up into the roof opening. If the gasket looks compressed or if there is evidence of water leaks, it's time to install a new gasket. Also, tighten the mounting bolts holding the roof-top unit to the inside unit if they are loose.
Step 5
From inside the RV, vacuum in and around all exposed portions of the unit to clear dust, cobwebs, etc.
Step 6
If the unit is equipped with a wall thermostat containing unenclosed contacts, clean them by simply sliding a business card between them and gently pulling the card through the closed contacts a few times. This effectively cleans them without causing damage. Never file or sand thermostat contacts.
Steps #7 through #10 need to be serviced from the roof. Grab your ladder, and head on up!
Step 7
On the roof, remove the A/C unit's outer shroud, exposing the motor and condenser. Look for a series of small drain holes in the mounting pan. These holes drain any moisture produced from the cooling cycle. Clean and verify that all condensate drain holes are open and able to drain.
Step 8

Inspect and clean the exposed condenser fins at the rear of the roof-top unit (Pictured Above). Remove any debris that may have collected on or near the condenser. Check for mud dabber nests in this area. Straighten damaged fins carefully. It may be necessary to purchase an aftermarket fin "comb" to safely straighten severely damaged areas. Never use a screwdriver or other sharp object for this task.
Step 9
Clean the area in and around the fan motor and compressor. Check the motor mounts for damage and/or fatigue.
Step 10
Look closely at the exterior shroud itself. Do you see any damage caused by low hanging branches or gas station overheads? Some minor damage can be repaired; however, if the cover has severe cracks, it needs to be replaced. Replacement shrouds are typically available for purchase at camping goods stores or your local RV dealer. As an alternative to the plastic shroud, consider an upgrade to a sturdier metal or fiberglass cover.
About The Author
Family Motor Coach Association (FMCA)
Since 1963, FMCA has been an RV expert for travelers in the U.S. and Canada. As a non-profit club, FMCA delivers relevant, must-know technical tips and news for RVers, as well as discounts and travel benefits. Plus, members have access to great networking opportunities - meet a new RVing friend through FMCA's 400+ groups based on location, RV type, or hobby. And there's always fun to be had at FMCA events and rallies! Check out our website http://site.fmca.com/index.php or call (800)543-3622 today!
You might like these
How to Plug RV Into House Electric
Here are steps you need to take to safely plug your RV into your homes electrical system
Keeping Your RV Rodent and Insect Free During Storage
Here are some helpful tips for keeping your RV rodent and insect free during storage
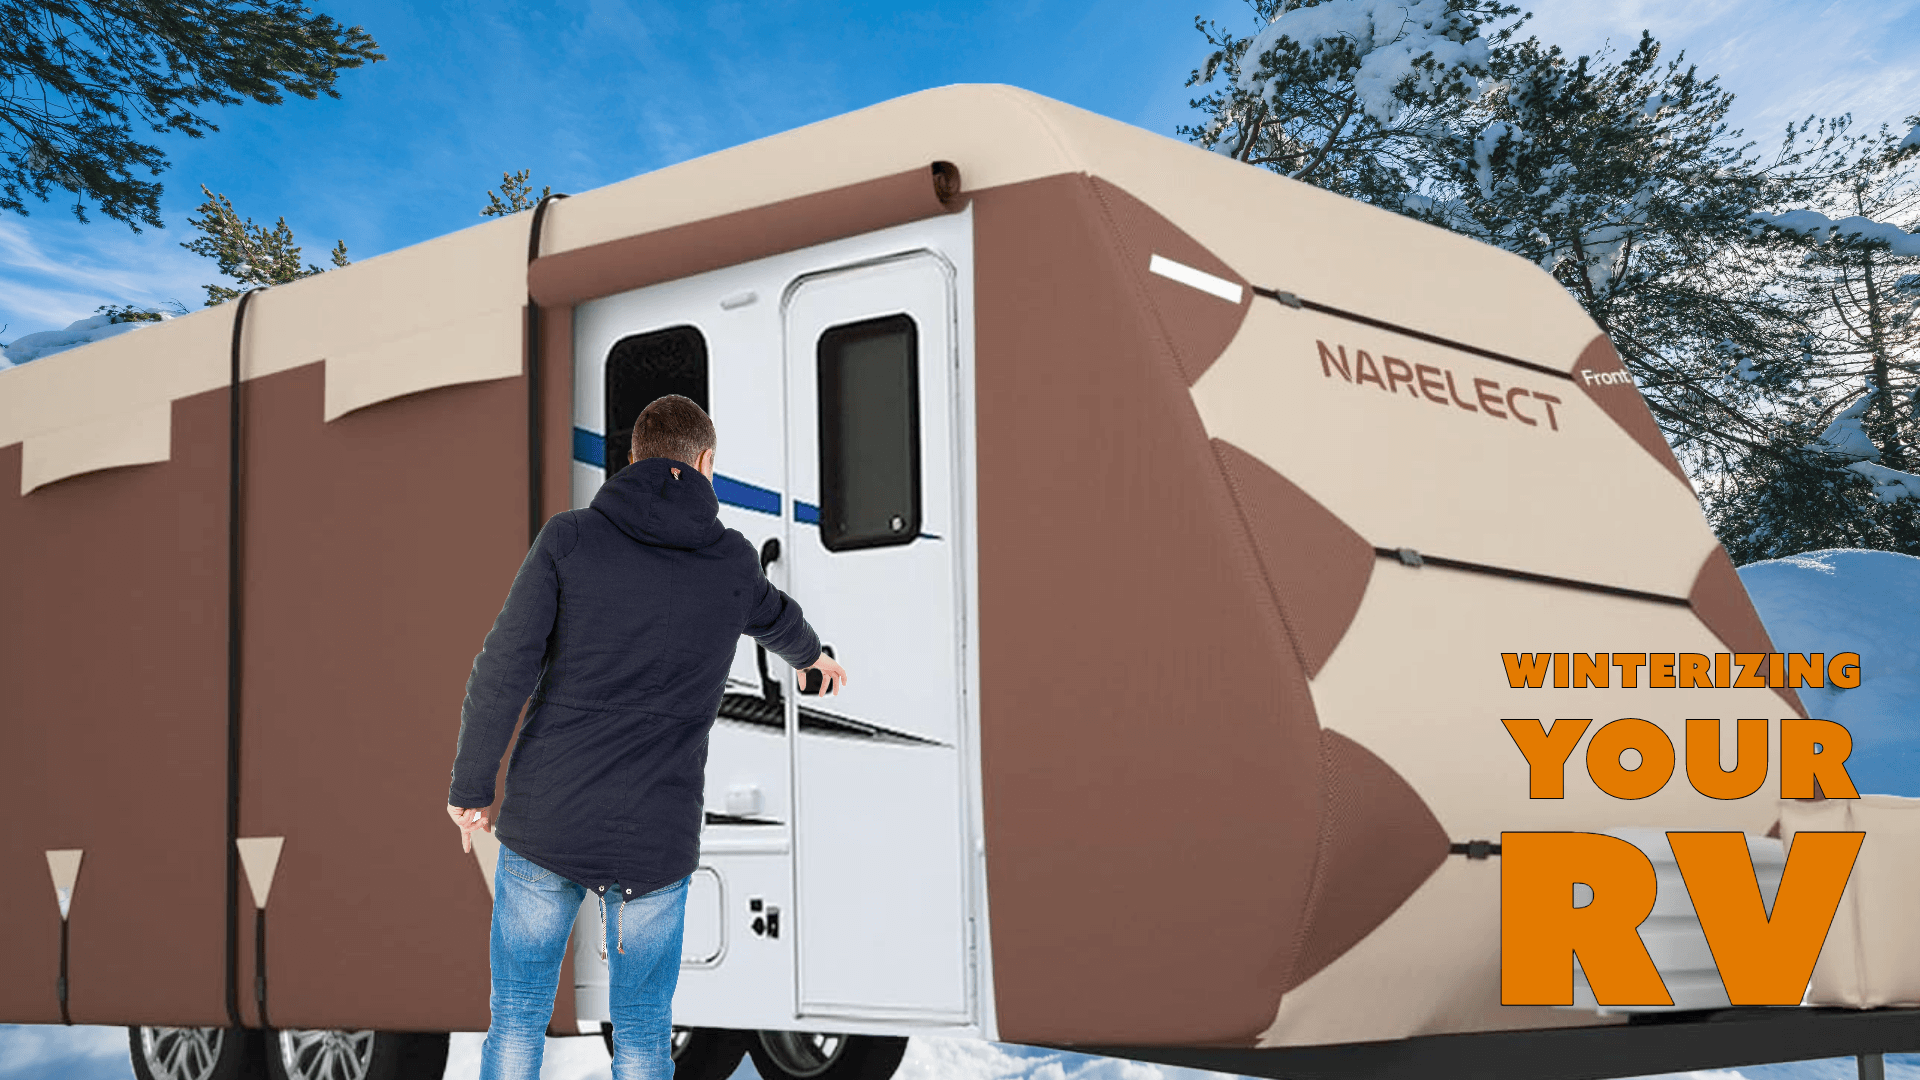
Winterizing Your RV: Essential Steps & Tips
Nothing can ruin your cheery spring mood by having to spend money repairing the pipes in your RV. Learn the steps for winterizing your RV the right way.
Getting Your RV Furnace Ready for Winter RVing
If you plan to do some winter RVing, then getting your RV Furnace ready for winter is important


Do you have any suggestions or comments on this topic? You can add them to this page by using the comments section located below.