- Home Page
- RVing Tips & Tricks
- Rv Ac Repair
RV AC Repair
Can You Do It Yourself?
Absolutely! You can complete an entire RV AC repair by yourself
Absolutely! You can complete an entire RV AC
repair by yourself unless you do not mind spending money on a technician.
Checking, maintaining, and repairing the air conditioner of your RV is crucial
to ensuring that it performs optimally on that summer road trip
I will explain how RV ACs work, common problems that these air conditioners may face and how to fix them. Also covered are the troubleshooting process and how to carry out maintenance.
This guide will provide you with all the tips and tricks to help you keep your RV air conditioning in excellent condition, ensuring you have a home away from home.
LEARN HOW TO RUN 2 RV A/Cs ON A 30 AMP CONNECTION
How do AC Systems work in an RV?
RV air conditioners run on AC power derived from a 120-volt socket that draws power from a house, generator, or solar system. The air conditioner vents in recreational vehicles are usually located on the rooftop, optimizing performance on the highway as it expels heat similarly to a refrigerator. In other words, it does not cool the room but removes heat from your RV.
These RV ACs operate through the sealed system and the air moving system. The sealed system is responsible for the air conditioner's inner workings. In this system there are the condenser, compressor, and evaporator. These components are responsible for collaborating to cool the air.
The air moving system comprises two fans and a motor. While one fan plays the role of moving air across the condenser, the other fan is responsible for pushing air across the evaporator.
Troubleshooting Your RV air conditioner
The first step of RV AC Repair is troubleshooting your RV air conditioner to understand the various components of your RV AC unit and their function. These include the compressor, evaporator, fans and motor, capacitors, and condenser. Next, you need to have a clear idea of the three most common issues faced when fixing an RV air conditioner. These are as follows:
- The AC will not turn on.
- The AC is blowing hot air.
- There is no power entering the RV AC.
You should also have a repair kit comprising screwdrivers, cloth, rubbing alcohol, knife, wire cutter, and a tester.
I have provided a detailed RV AC repair guide on how to address these issues below
Common RV AC Problems and How to Fix
RV air conditioner will not turn on
If your AC will not come on, the first thing to do is check that there are batteries in your AC's or RV's remote (if your AC or RV has one). This might cause a problem, mainly if the batteries have been used for an extended period. Even though AA and AAA batteries last for long periods, cheaper brands may wear out rather quickly. If the batteries are still in order or the problem persists after changing, ensure that nothing is broken. If the remote is in good condition, check that there is electricity in your RV.
RV Air Conditioner is blowing hot air
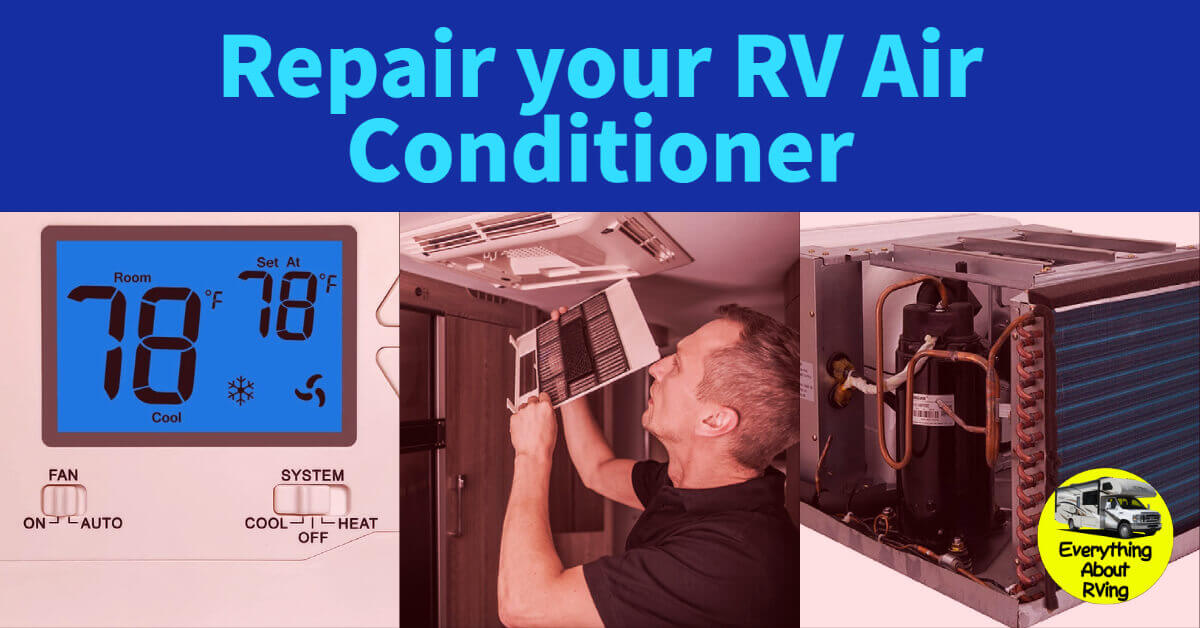
If your RV air conditioning is blowing out hot air instead of cooling the vehicle, then check your thermostat to ensure you set the right temperature right. If you did so, then the problem might be the thermostat itself. Confirm that the thermostat is the cause by performing a bypass. A bypass will involve disconnecting the wires that connect the thermostat to the RV air conditioning. If the RV begins to function after performing the bypass, it is time to replace your thermostat.
RV AC smells like vinegar
Air conditioners are not expected to leave smells. That is a strange occurrence with two causes: AC filters and radiators. When AC filters are not cleaned or replaced regularly, they may begin to smell like vinegar. The same applies to the air conditioner radiator. Clean the AC radiator to get rid of the bad smell.
RV AC unit motor is loud
Your RV AC motor unit is expected to be smooth and silent. Therefore, you should be concerned when the Air Conditioner makes unusual or excessive noises. One of the primary causes of such noise may be a shift in the position of the rubber shock absorbers. Fix this by removing the shroud of your RV AC unit and locating the rubber shock absorber. Next, shift the shock absorbers away from the fan or compressor coils. Most times, the contact of these components can trigger unusual noises.
Ice in RV air conditioner
Having ice on your air conditioner is a common problem triggered by your AC unit's freon levels. To be sure about the cause of this problem, check your air conditioner to ensure that there are no leaks. If you cannot find any, then switch off the Freon. Your AC should cease to produce any unwanted ice.
The air conditioner won't stop running
If your air conditioner will not stop running, turn off your AC and check the thermostat by following the above steps. If your thermostat is the problem, replace it. Failure to resolve this problem will decrease the longevity of your RV AC and may damage the unit.
A leaking air conditioner
Recreational vehicles' air conditioners are frequently plagued by leaking. That is why no RV AC repair guide is complete without showing all the causes of leaks and how to fix them. Leaks should be fixed immediately because they can become a long-term problem. The first step to resolving this issue is to ensure that the rubber gasket that seals the AC to the RV rooftop is still intact. This means that there should be at least ½ inch of height in the gasket between the RV and the AC. If the gasket leaks, you can replace it yourself or hire a professional.
How to replace an RV AC gasket
Step 1: Get the right tools.
To replace your RV AC gasket, you need to get the right tools: a cloth, new gasket, screwdriver, knife, wire cutter, and rubbing alcohol.
Step 2: Remove AC shroud
The shroud is the outer part of your air conditioner, known as the shroud. Locate the bolts, unscrew them and keep them safely away for use when needed.
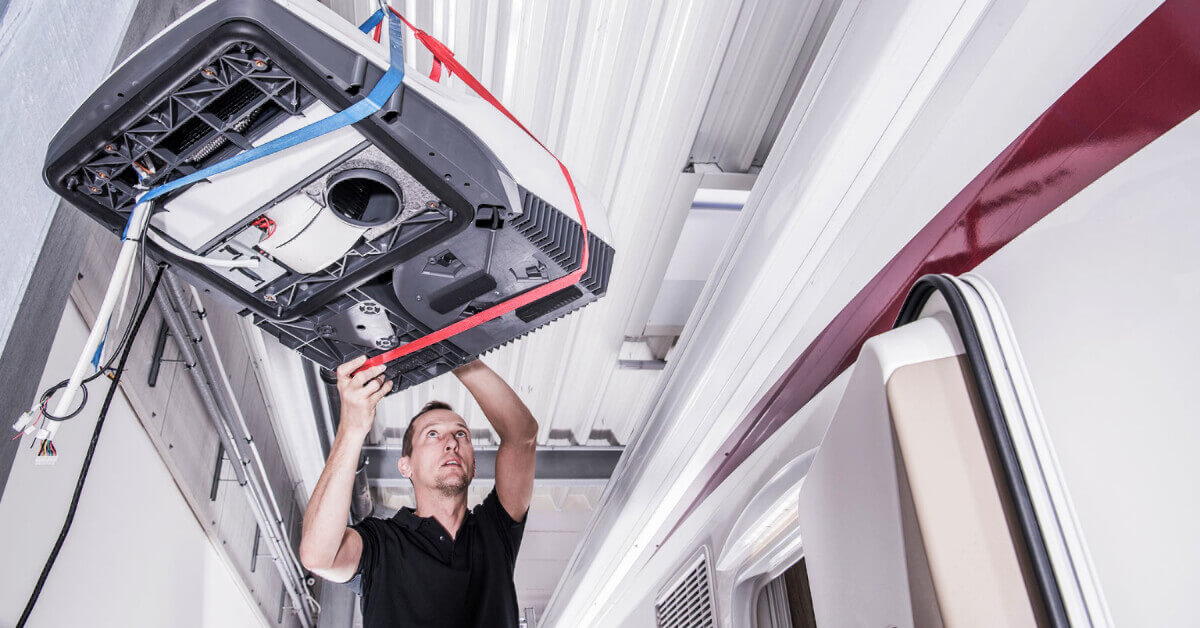
Step 3: Bring down the AC unit
Once the shroud is removed, bring down the AC unit from the roof to ease the repair process. Unscrew the bolts holding the AC unit to the rooftop of your RV. Disconnect any electrical connector after carefully observing Where they are (you might want to take a picture of the connections so you can reconnect them properly). Before cutting the three wires, ensure that there is no power connected. Be careful not to scratch your RV paint when removing the AC.
Step 4: Remove and replace the rubber gasket
After bringing down your AC unit
1. Get rid of the old rubber gasket. If the gasket is stuck or hard to remove, you can get rid of it with a knife.
2. Clear all the old gasket residue and clean the entire rooftop slot for your RV AC with rubbing alcohol.
3. After cleaning the rooftop, replace the rubber gasket by returning the AC unit to its place over the new gasket.
4. Screw all nuts and bolts and reconnect the cables before reattaching the AC shroud.
After completing the entire replacement process, you can check to confirm that your air conditioner is working correctly. You can check for leaks by spraying the AC unit lightly with a water hose while the AC is running.
How to maintain an RV air conditioner
If you do not want to replace your air conditioner every few years or hire RV AC repair experts, then be prepared to commit some time to keep your RV in excellent condition. Follow the following steps:
1. Prevent elements from entering the AC when not in use. Since RV air conditioners are used primarily during summer holidays, the air vents and filters accumulate in fall, winter, and spring. Therefore, you should protect your RV from dust and dirt by covering it when not using it.
2. Service the fan regularly. Your air conditioning fan needs to be oiled periodically to run smoother. Purchase a manufacturer-recommended detergent-free oil that does not leave residues.
3. Occasionally check the condenser. The condenser accumulates dust, dirt, and other unwelcome elements over time. So regularly inspect it and its coils for dirt and clean it when necessary.
4. Inspect roof vents. To prevent unnecessary RV AC repair, protect your unit from receiving excess moisture. That means you will have to air out the roof vents of your unit.
RV ac repair cost
RV air conditioner repairs are pretty pricey. Statistics show that the minimum cost of an RV AC repair service is $129 per hour. However, the cost of this service can rise to as much as $189 hourly for expensive rigs. Replacing an air conditioner is no less costly, with prices ranging from $500 to $1100 without including installation fees which cost a minimum of $400.
Conclusion
RV AC repairs are generally expensive when you engage the services of professionals. However, by troubleshooting your air conditioner and carrying out proper maintenance, you can fix the fundamental problems that your unit will face. The RV AC repair guidelines we have provided will help extend the longevity of your RV AC and optimize its performance.


