- Home Page
- RVing Tips & Tricks
- Rv Solar Panels
Adding RV Solar Panels

There are many ways to benefit when you add RV Solar Panels
There are many ways to benefit when you add solar panels to your recreational vehicle (RV). For starters, you can save money on electricity. This can be a big help if you're spending a lot of money on other aspects of your road trip, such as visits to museums and such. You also won't be as reliant on the energy of campgrounds. This allows you to be more flexible around where and when you want to park your RV during your journey.
However, making your RV capable of generating energy via solar power is not as easy as it may seem. There's a lot more involved than just sticking a few solar panels on top and plugging them into your electricity. Below you will find the different steps that you should take so that you're able to get the best possible solar power system possible.
Make Sure That You Are Buying the Right Hardware
Buying the wrong kind of hardware and having to return them will be a frustrating process. It might also be a waste of money if you damage the hardware while trying to install it. You can save yourself a lot of stress by doing all the correct calculations and measurements before you go out and buy everything that you need.
Step 1: Calculate Your Energy Usage
You should calculate how much energy you would need for your group of panels (also known as an array) to generate on any given day. You can get a good estimate of this by figuring out how much energy the appliances you use need to operate for the time you use them each day. You can take the number of watts that the particular appliance needs to run and multiply it by the time (in hours) you use it. Then you can add all these watts together (be sure to overestimate to be safe) to get a general idea of what you need.
Step 2: Choose Your Components
Only after you're sure of your energy needs should you start looking for the kinds of components you need in your RV's solar system. You need more than a solar panel array for proper sunlight to electricity conversion. The entire process, along with the panels, requires at least specific wires and fuses and a charge controller. Be sure to look through the available options and consider their pros and cons along with your budget before you decide which pieces are right for you.
Install Your Hardware While Following Instructions Carefully
Making a mistake in your installation process could cause damage to your RV and components. It's best to find a wide range of different instructions online and in books to best make up for any weaknesses in certain types of instructions. You also want to make sure that you read these instructions slowly several times and install your equipment with the same care.
Step 3: Mount the Large Components First

Once you have bought all that you need for your system, bring it to your RV and lay it out in a safe place. Install the solar panels first. Make sure that they're in a position that gets a lot of sunlight. Then mount your charge connector somewhere in the interior of your RV that is close to your RV's battery bank. Once you’ve done this, you can run the wires to the charge connector (through a hole created in the roof) and other wires from the interior component to the battery. Check that the polarities of your wiring are correct before you plug your system in.
Getting everything installed is straightforward once you find all the correct components. Don't let all the technical mumbo-jumbo discourage you, though. Study the information carefully and think happy thoughts about the future where you have your modern-day marvel of an energy generation system.
You might like these
How to Plug RV Into House Electric
Here are steps you need to take to safely plug your RV into your homes electrical system
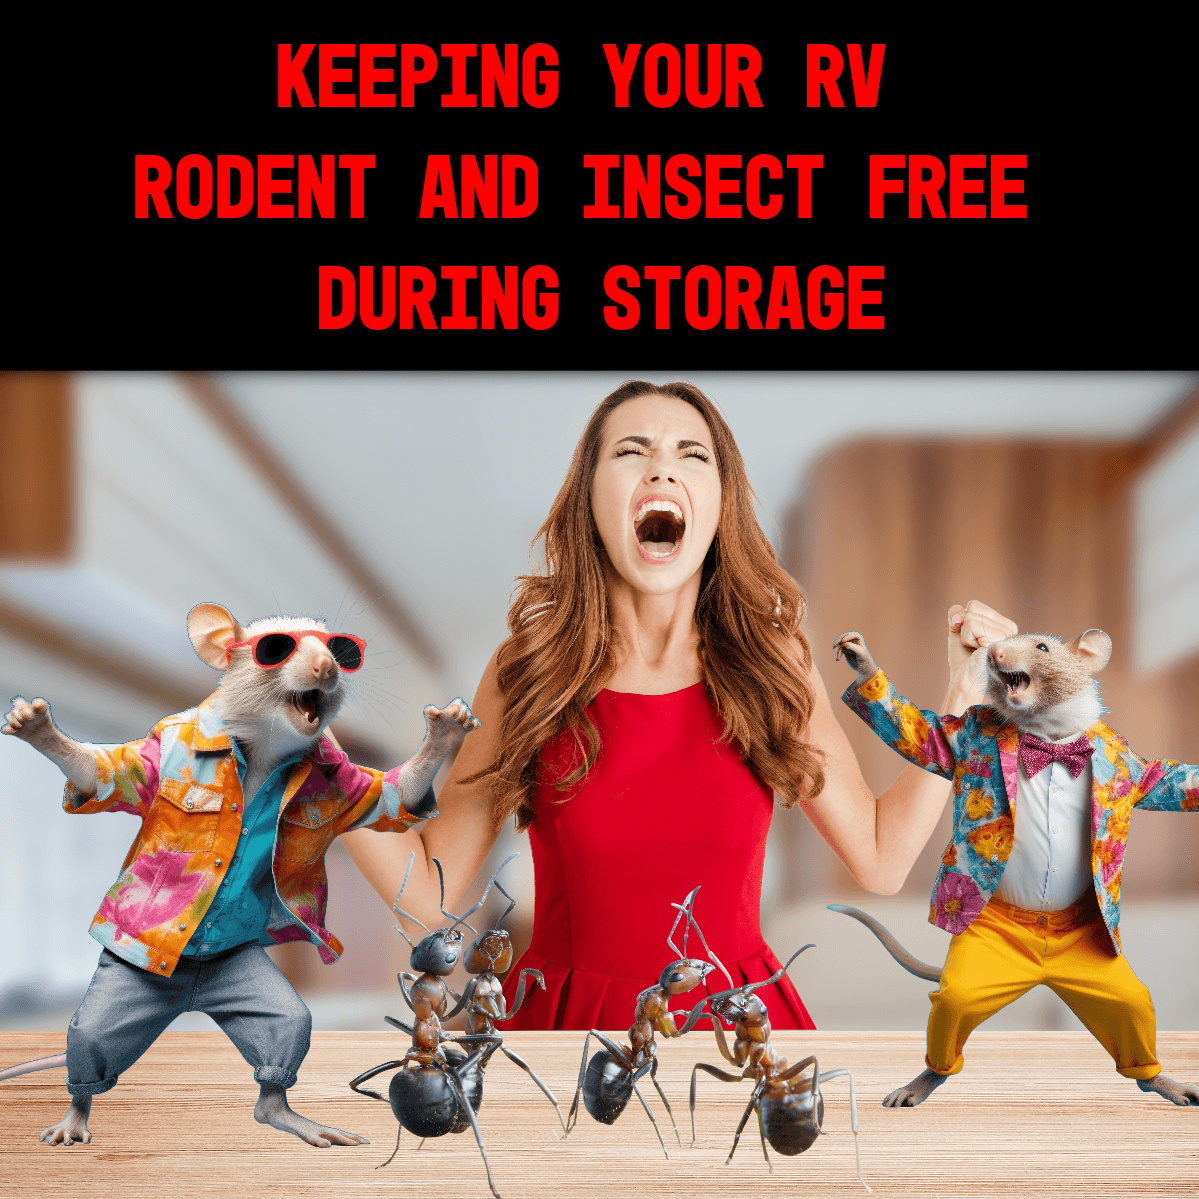
Keeping Your RV Rodent and Insect Free During Storage
Here are some helpful tips for keeping your RV rodent and insect free during storage
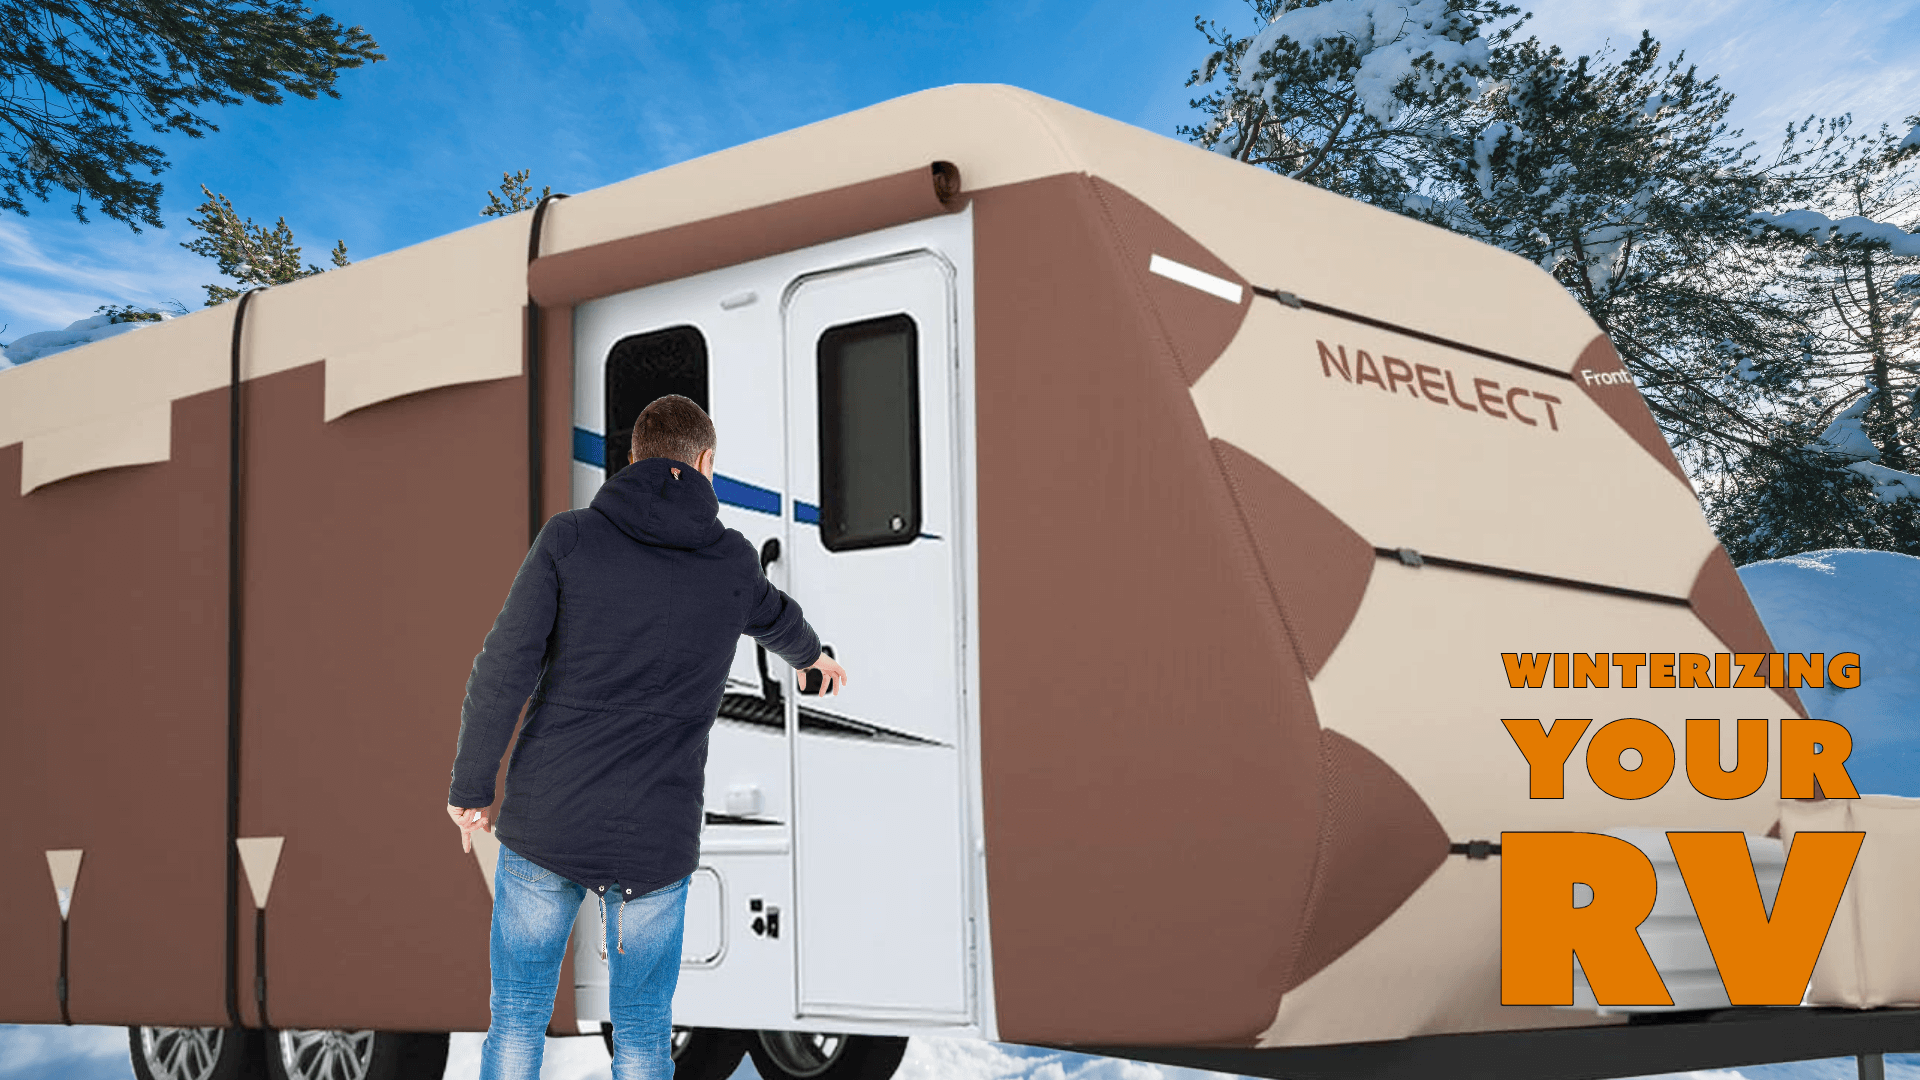
Winterizing Your RV: Essential Steps & Tips
Nothing can ruin your cheery spring mood by having to spend money repairing the pipes in your RV. Learn the steps for winterizing your RV the right way.
