- Home Page
- RVing Tips & Tricks
- Winterizing Your Rv
6 Tips For Winterizing Your RV
By Bryan Phelps
Winterizing your RV will ensure that it will be in mint condition come spring
Freezing temperatures and short daylight hours signal the onset of winter, and if you’re like many of us, cold weather comes all too soon. While the long summer is ideal for fun activities like fall camping excursions and cross-country trips, it doesn’t leave a lot of time to properly prepare outdoor toys for cold temperatures. Thankfully, you can (and should) still winterize your RV and camper so that it will be in mint condition come spring.
Follow these six expert tips to quickly and effectively get your camper winter-ready.

1. Drain Water Lines and Hot Water Heater
Draining and drying your water lines will prevent pipes from cracking in these freezing temperatures. Locate the three low-point drains: cold water, hot water, and the fresh water tank. Open the petcocks and drain as much water as possible. Be sure to open the water taps at each faucet and shower, and flush the toilet to release any remaining water that might still be in the lines.
Draining your hot water heater can be done either by removing the drain plug located on the outside of the tank or by opening the drain valve located in the lower left-hand corner of the water heater.
Regardless of which method you choose to use, be sure to keep the hot water faucet open so that air pressure can assist in the draining process.
2. Blow Dry The Lines
Ensure your water lines are completely dry by attaching a compressed air adapter to the water intake valve or use a standard air compressor to blow air through the water lines. This will force out any remaining water in tanks and hoses and can help facilitate the drying process to prevent any remaining water from damaging the system in freezing temperatures. Be sure to properly remove the adapter and compressor, replace drain caps, close all water faucets and securely latch all petcocks after completing this step.
3. Add Antifreeze
Antifreeze is a vital tool in the protection of pipes and tanks. After you’ve drained and dried all elements, connect a one-gallon jug of specialized RV antifreeze fluid to a water pump converter kit and attach it to your water pump. Turn the water pump on to pressurize the system and slowly start opening the hot and cold faucets, starting with those closest to you. Allow them to flow until you begin to see the RV antifreeze fluid. Continue this process on every faucet in your RV, including the outside shower, and don’t hesitate to add more fluid as needed.
4. Take Final Antifreeze Steps
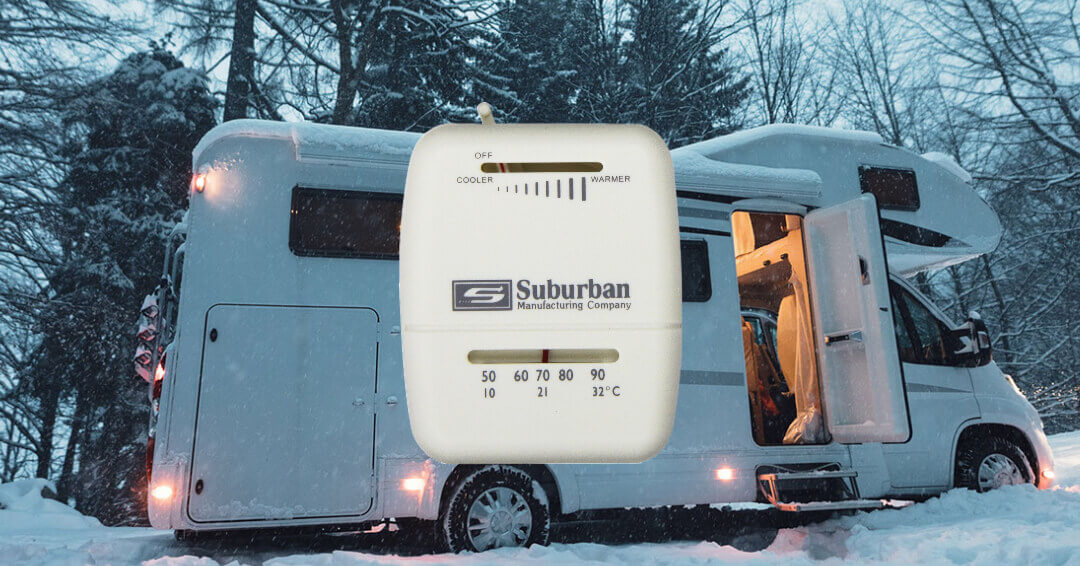
After pressurizing your system, pour a cup of antifreeze down each drain and toilet and flush once to allow the liquid to line the pipes and tanks. If possible, turn off the water heater’s electric heating element to protect it while it’s in storage and make sure you’ve securely shut off all faucets. Finally, disconnect and store the water pump converter kit.
5. Winterize the Interior
Methodically go through the interior of your camper and check off a list of things that need to be done. This list should include things like:
- Lock windows and shut blinds
- Remove food from cabinets, fridge, and freezer to prevent mice and rodents from nesting
- Fix anything that’s broken or needs repair
- Clean all surfaces to help the interior maintain integrity throughout the winter

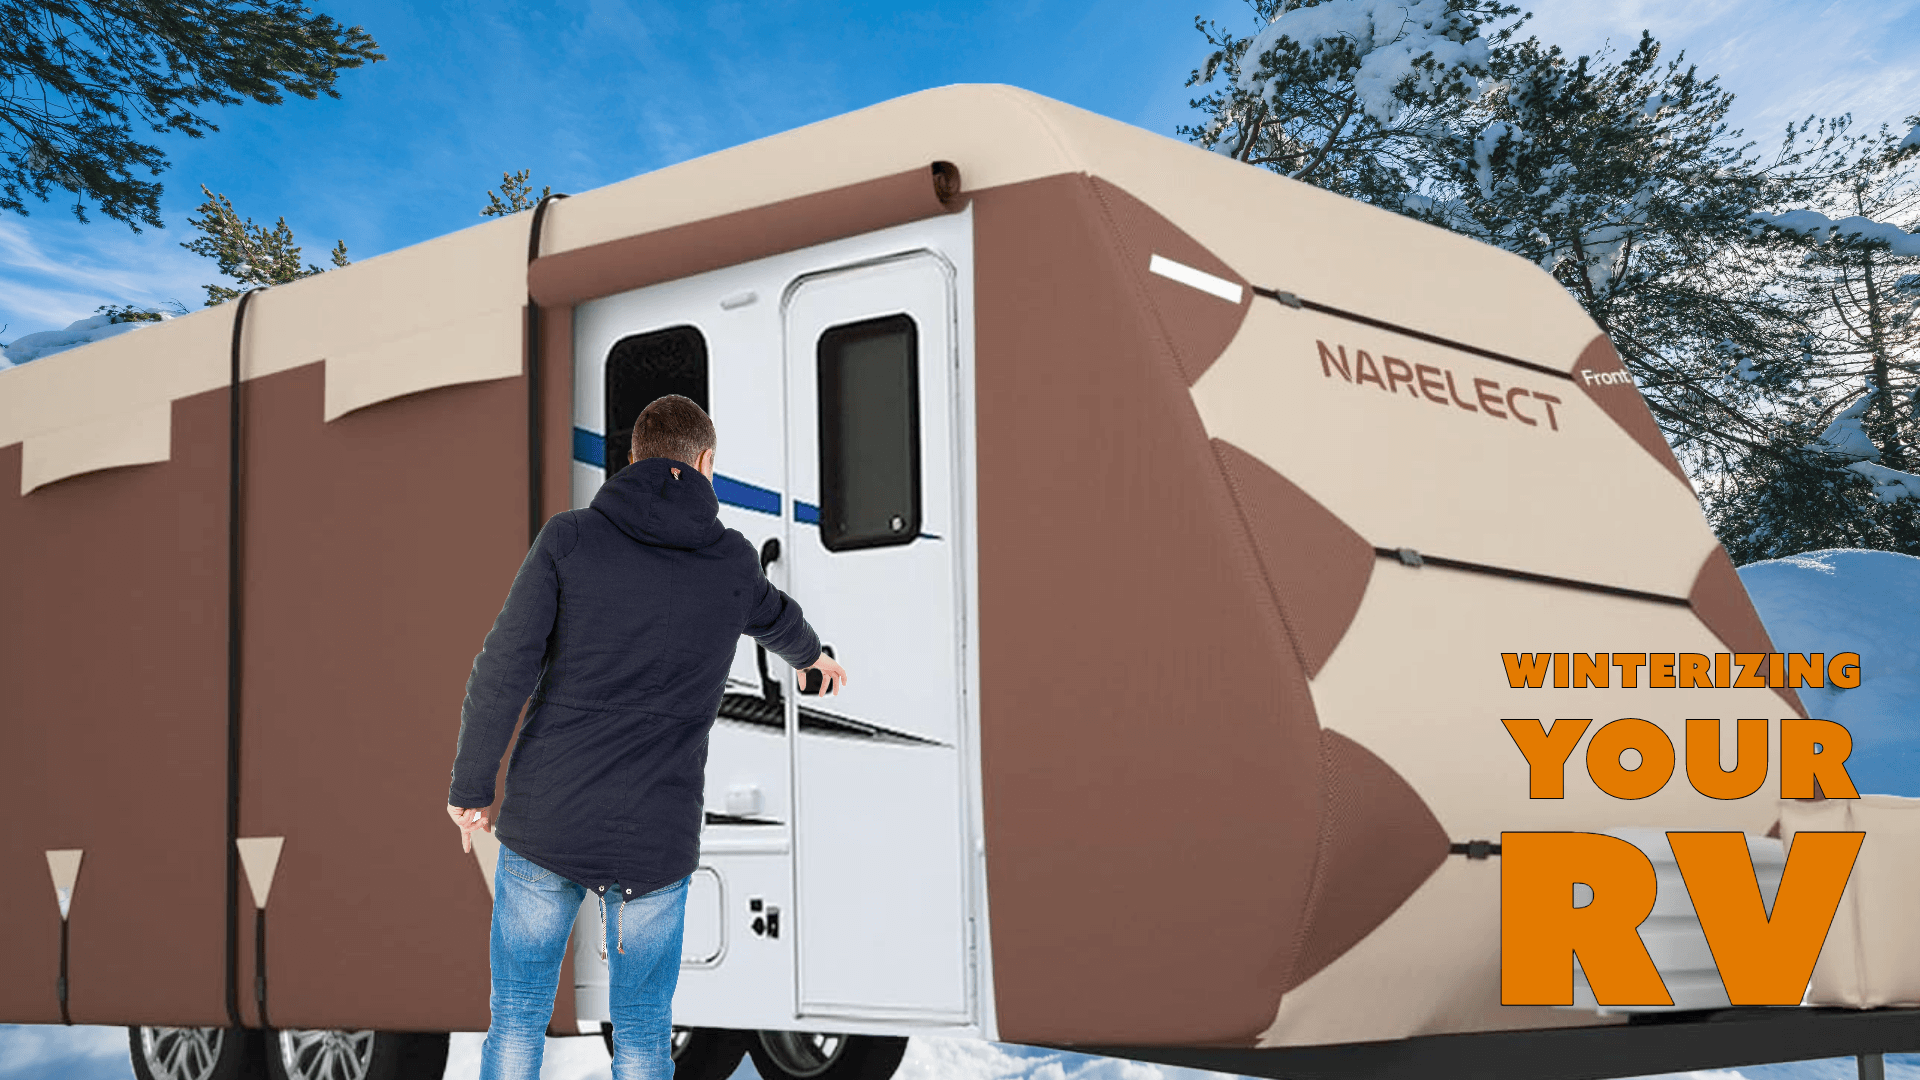
6. Winterize the Exterior
Carefully inspect the outside of your RV, being sure to keep an eye out for any peeling paint or cracks in the fiberglass. If you locate any of these problem areas, either temporarily or permanently fix them to ensure they don’t worsen in cold weather. Cover all vents and holes with a mesh guard or plug (including those on the roof) to prevent rodents, birds, and bugs from making your camper home. Finally, taking the weight off of the tires during prolonged downtime helps them stay in good shape. Consider raising your RV with blocks or stilts.
The final recommendation for winterizing your RV is to either cover it entirely
with a breathable material to help protect it from winter elements like snow, ice, wind, and rain, or go the extra step in ensuring your RV stays in mint condition by
storing it in a self storage facility.
With temperature regulations and climate control, storage facilities keep your RV completely out of harsh winter conditions and safe from any pests or pesky people. By taking these simple steps, you can guarantee your RV will be rested and ready for another
season of adventure and exploration come springtime.
To view the complete list of ways to winterize your RVs and boats, visit
Simply
Self Storage for more tips on how to winterize your fun summer toys.
You might like these
How to Plug RV Into House Electric
Here are steps you need to take to safely plug your RV into your homes electrical system
Keeping Your RV Rodent and Insect Free During Storage
Here are some helpful tips for keeping your RV rodent and insect free during storage
Winterizing Your RV: Essential Steps & Tips
Nothing can ruin your cheery spring mood by having to spend money repairing the pipes in your RV. Learn the steps for winterizing your RV the right way.
Getting Your RV Furnace Ready for Winter RVing
If you plan to do some winter RVing, then getting your RV Furnace ready for winter is important

