- Home Page
- Favorite RV Accessories
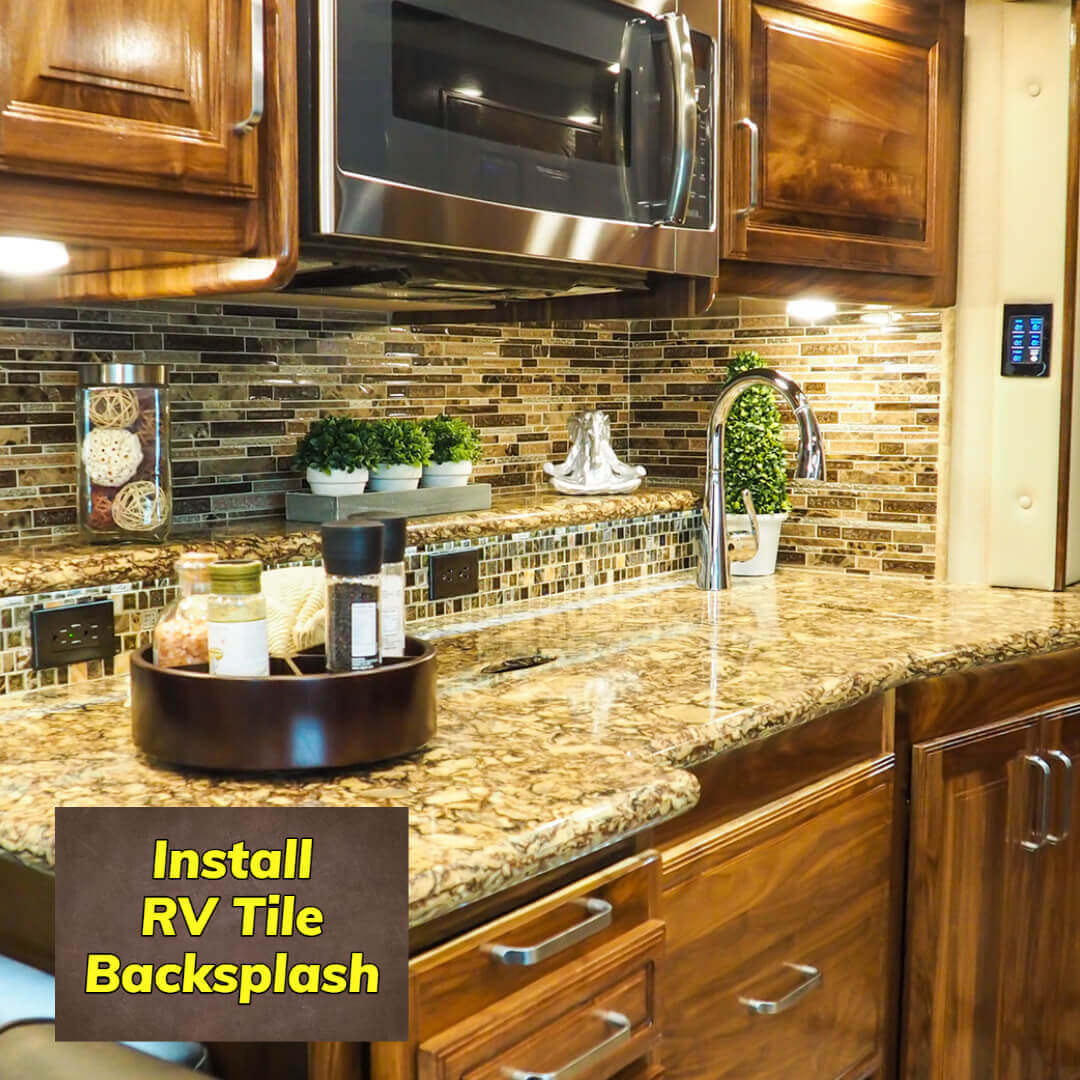
- Installing a Tile Backsplash in an Rv
Installing a Tile Backsplash in an RV
Step-by-Step
Instructions
Installing a tile backsplash in an RV will upgrade the kitchen and add a touch of style. Step-by-step instructions and tips are included
Installing a tile backsplash in an RV adds a bit of elegance and personality to your home on wheels. Not only does it improve the aesthetics of your RV, but it also provides a practical solution for protecting the walls from spills and splashes. This is a step-by-step guide on installing a tile backsplash in an RV.
Step-by-Step Instructions on Installing a Tile Backsplash in an RV
Step 1: Gather Materials
Before installing your tile backsplash in your RV, gathering all the necessary materials is important. This will ensure you have everything you need and can work efficiently without stopping and running to the store for something you still need.
Here is a list of materials you will need:
- Tile: You will need to choose the type of tile you want to use for your backsplash. Ceramic, porcelain, and glass tiles are all popular choices for RV backsplashes. Consider the overall design of your RV, and choose a tile that complements the existing decor.
- Tile Adhesive: You will need a tile adhesive that is specifically formulated for use on RVs. Some RVs are made from materials unsuitable for certain types of adhesives, so be sure to choose one compatible with your RV's type.
- Grout: You will need grout to fill in the gaps between the tiles. Choose a grout color that enhances the tile you've chosen.
- Tile cutter or wet saw: You will need a tile cutter or wet saw to cut the tiles to fit the specific dimensions of your backsplash area.
- Notched trowel: A notched trowel will be used to apply the tile adhesive to the surface.
- Tile spacers: Tile spacers will ensure proper spacing between each tile.
- Grouting Sponge: A damp sponge will be used to clean up excess grout.
- Grout float: A grout float will be used to spread the grout evenly between the tiles.
- Sealer: A sealer will protect the grout from moisture and stains and maintain the grout's fresh and new look for a longer period.
By gathering all these materials before starting the installation process, you can work efficiently and avoid any unexpected delays. Double-check the materials you have and the materials you need according to the surface you are working on; it can vary depending on your RV type.
Step 2: Measure the Area
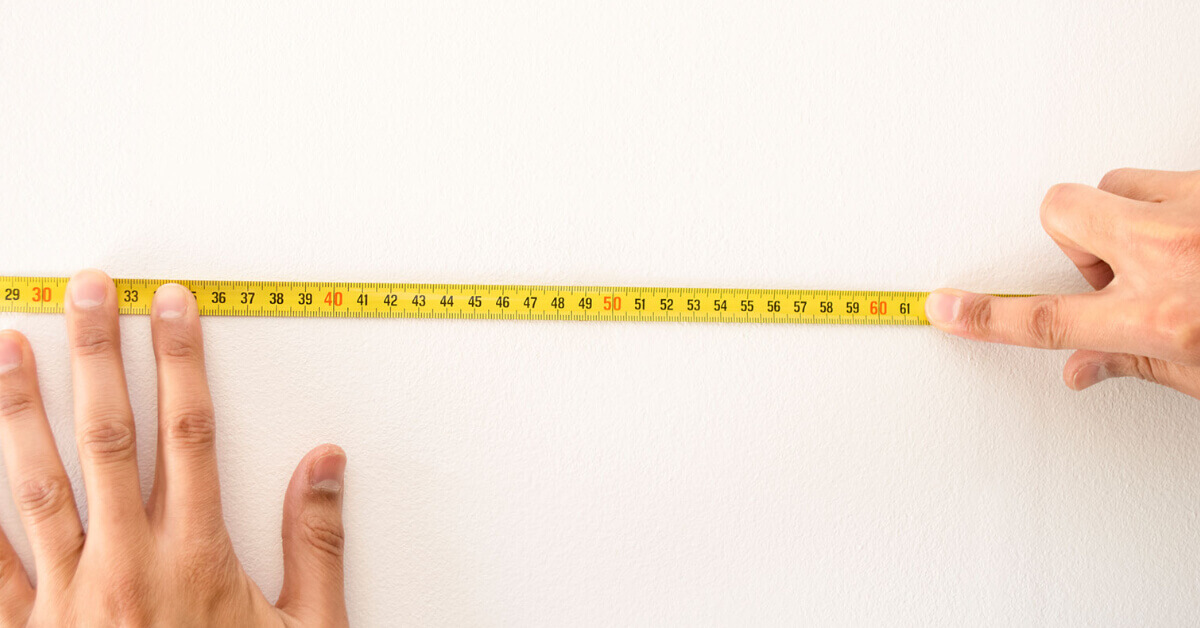
Measuring the area where you will install the tile backsplash is essential. This will help you determine how many tiles you need and how best to utilize the space.
Here's how to measure the area:
- Measure the length and width of the area where you will install the backsplash: You need to use a tape measure to get an accurate measurement and measure in multiple places to ensure that the measurements are consistent.
- Determine the layout of the tile: This will depend on the size and shape of your chosen tiles. Some tiles may need to be cut to fit specific areas of the backsplash, so you'll want to plan for that.
- Sketch out the layout on a piece of paper: This will give you a visual representation of the tiles' appearance when installed. Use the measurements you took to ensure that the layout is accurate.
- Count the number of tiles needed: By counting the number of tiles you will need, you can purchase enough tiles for the project. It's always best to buy a few extra tiles just in case of any breakage or mistakes during installation.
By measuring the area and planning the layout of the tiles, you can ensure that the installation process goes smoothly. It is also essential to note that you should measure the area where you will install the backsplash and plan the layout before purchasing the materials to ensure that you have enough tile and the correct type of tile cutter or saw to cut your tile accordingly.
Step 3: Clean the Surface
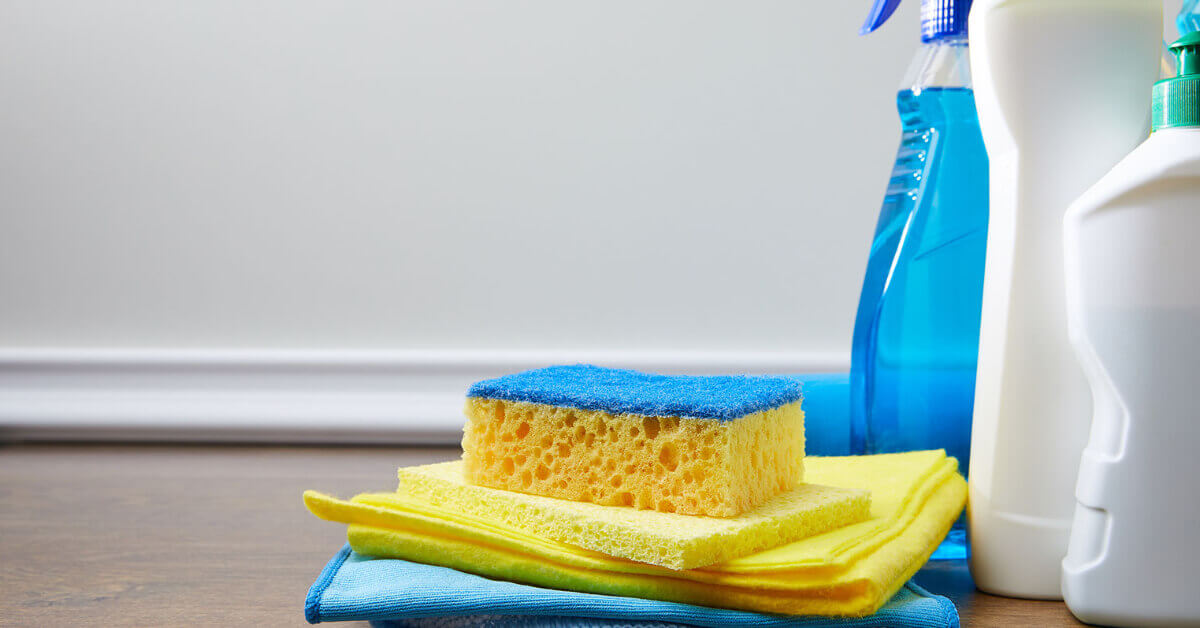
Before you begin installing the tile backsplash, it's crucial to clean the surface where you will be installing it. This will ensure that the tiles adhere correctly and that the final result looks neat and professional.
Here's how to clean the surface:
- Remove any debris from the surface: This includes dust, dirt, and any other debris that may be present. Use a broom or a vacuum cleaner to remove any loose debris.
- Clean the surface with a degreaser or soap and water: A degreaser is a cleaning solution specifically designed to remove grease and oil, making it difficult for the tiles to adhere properly. You can use a mild soap solution and warm water if you don't have a degreaser.
- Scrub the surface thoroughly: Use a brush or a sponge to scrub the surface, paying attention to areas that may be particularly dirty or greasy. Remove all traces of the degreaser or soap and water solution.
- Rinse the surface with clean water: Use a clean cloth or sponge to remove any remaining debris and cleaning solution. Make sure to remove all traces of the cleaning solution.
- Allow the surface to dry completely: Before installing the tiles, it is essential to wait until the surface is completely dry. If the surface is still damp, the tiles will not adhere properly.
Cleaning the surface thoroughly ensures that the tiles adhere correctly and that the final result looks neat and professional. It is also essential to ensure that the surface should be cleaned and dried before applying any adhesive since any traces of dirt or moisture can compromise the adhesion of the tile.
Step 4: Apply Tile Adhesive
Apply Tile Adhesive Once the surface is clean and dry, it's time to apply the tile adhesive. This will ensure that the tiles adhere properly to the surface and that the final result is stable and secure.
Here's how to apply the tile adhesive:
- Prepare the adhesive according to the manufacturer's instructions: Tile adhesive comes in various forms, such as powder or premixed, so read and follow the manufacturer's instructions for mixing and preparing the adhesive.
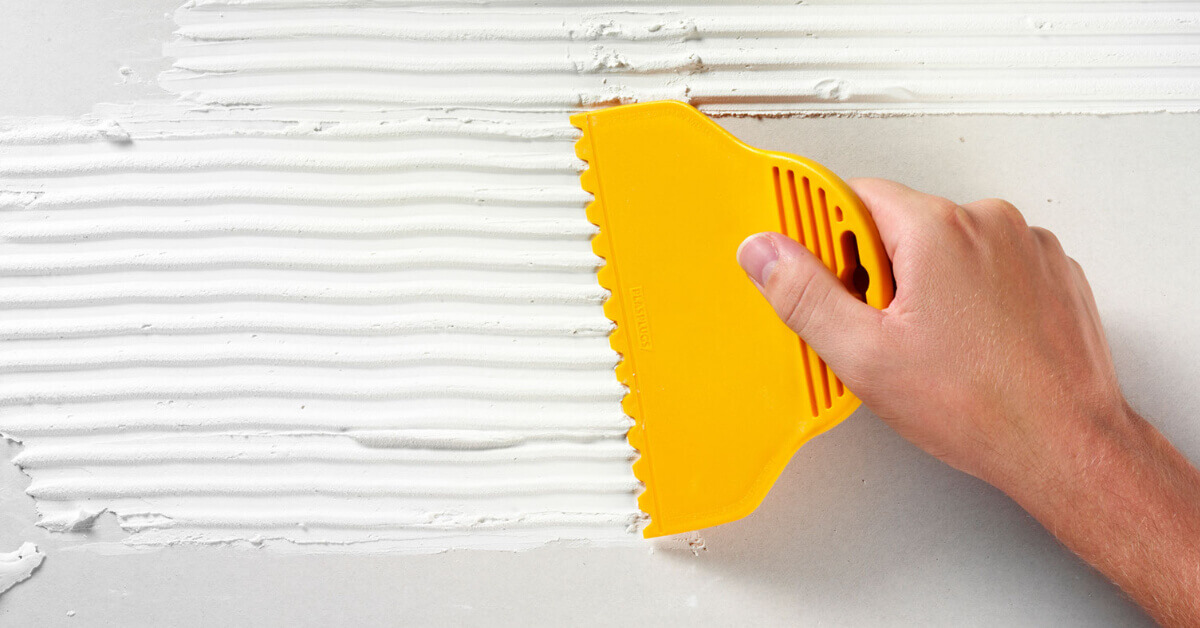
- Utilize a notched trowel to apply the adhesive to the surface: The trowel should be held at a 45-degree angle to spread the adhesive evenly, covering the entire surface. The notches on the trowel will create ridges in the adhesive, which will help the tiles adhere properly.
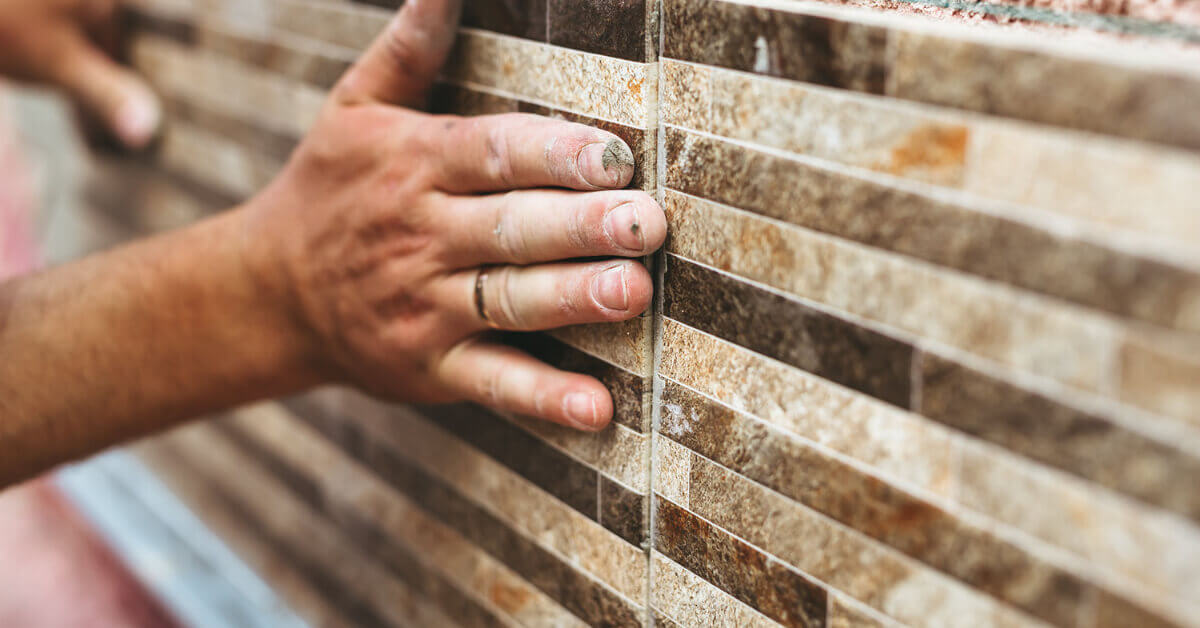
- Press the tiles into the adhesive: Starting at one corner of the surface, press the tiles into the adhesive, pressing them firmly into the adhesive. Use the tile spacers between the tiles to ensure they are spaced evenly.
- Let the adhesive dry completely: Follow the manufacturer's instructions for drying times which can vary depending on the type of adhesive you are using and the conditions in your RV.
This step in installing a tile backsplash in an RV requires applying the tile adhesive correctly which ensures that the tiles adhere properly and that the final result is stable and secure. It is also important to note that it's important to work in small areas and only apply a little adhesive at once, so it doesn't dry out before you place your tiles. Also, check the manufacturer's instructions for the amount of adhesive to use, as using too much or too little can affect the final result.
Step 5: Install the Tiles
Now that the tile adhesive has been applied and dried, it's time to install the tiles. This step is where you will see your project take shape and your backsplash come to life.
Here's how to install the tiles:
- Measure and cut the tiles as needed: Use a tile cutter or wet saw to cut the tiles to fit the specific dimensions of your backsplash area. Measure and mark the tiles correctly before cutting to avoid mistakes.
- Dry fit the tiles: Before applying any adhesive, it's essential to dry-fit the tiles to ensure that they fit properly and that you are satisfied with the layout. Make any necessary adjustments to the layout at this time.
- Apply the tile adhesive: Spread a thin layer of adhesive on the surface using a notched trowel. Make sure to spread the adhesive evenly and cover the entire surface.
- Press the tiles into the adhesive: Starting at one corner of the surface, press the tiles into the adhesive, pressing them firmly into the adhesive. Use the tile spacers between the tiles to ensure they are spaced evenly.
- Wipe away any excess adhesive: Use a damp cloth or clean sponge to wipe away any adhesive that may have squeezed out between the tiles.
- Let the adhesive dry completely: Follow the manufacturer's instructions for drying times. This can vary depending on which type of adhesive you are using and the conditions in your RV.
By installing the tiles correctly, you can ensure that the final result is neat and professional. It is essential to be precise and to take your time when installing the tiles, as any mistakes made at this stage will be visible in the final result. Also, pay attention to the tiles' pattern and layout, as this can significantly affect the overall aesthetic of the backsplash.
When installing the tiles, you should work in small sections by starting at the bottom and working your way up. This will help to ensure that the tiles are level and that the adhesive has enough time to dry before you move on to the next section.
Once all the tiles are installed, apply grout between the tiles to complete the look and improve the durability. Grout, which is a mixture of cement, water and sand, which is used to fill the gaps between the tiles. After the grout is applied, wipe any excess grout on the tile surface and let it dry completely before using the RV again.
Now that the tile backsplash is installed, your RV will have a brand-new, fresh look that is easy to clean and maintain. The new tile backsplash will add style to your RV and make it more comfortable and enjoyable to spend time in. Congratulations on installing a tile backsplash in an RV!
Step 6: Allow Time to Dry
Once the tiles are installed, allowing the tile adhesive and grout to dry completely before using the RV again is essential. Drying time will vary depending on adhesive type and grout you are using and the conditions in your RV.
What you should keep in mind when allowing the tile adhesive and grout to dry:
- Follow the manufacturer's instructions for drying times: Different types of adhesives and grouts will have different recommended drying times, so read and follow the manufacturer's instructions carefully.
- Keep the RV well-ventilated: Good ventilation will help the adhesive and grout dry more quickly and evenly.
- Avoid exposing the adhesive and grout to moisture: If the adhesive and grout get wet before they can dry completely, it can weaken the bond and affect the final result.
By allowing the tile adhesive and grout to dry
completely, you can ensure that the tiles are stable and secure and that the
final result is long-lasting. It is also
important to understand that some types of adhesive and grout may require
additional curing time, which may take up to a week, so check the
manufacturer's instructions and allow enough time for the tile to cure fully.
Step 7: Apply Grout
Once the tile adhesive is dry, it's time to apply the grout between the tiles to complete the look and improve the durability of the tile backsplash. The grout is a mixture of water, sand, and cement to fill the tiles' gaps.
Here's how to apply the grout:
- Prepare the grout: Follow the manufacturer's instructions for the grout you are using. Grout comes in various forms, such as powder or premixed, so read and follow the manufacturer's instructions for mixing and preparing the grout.
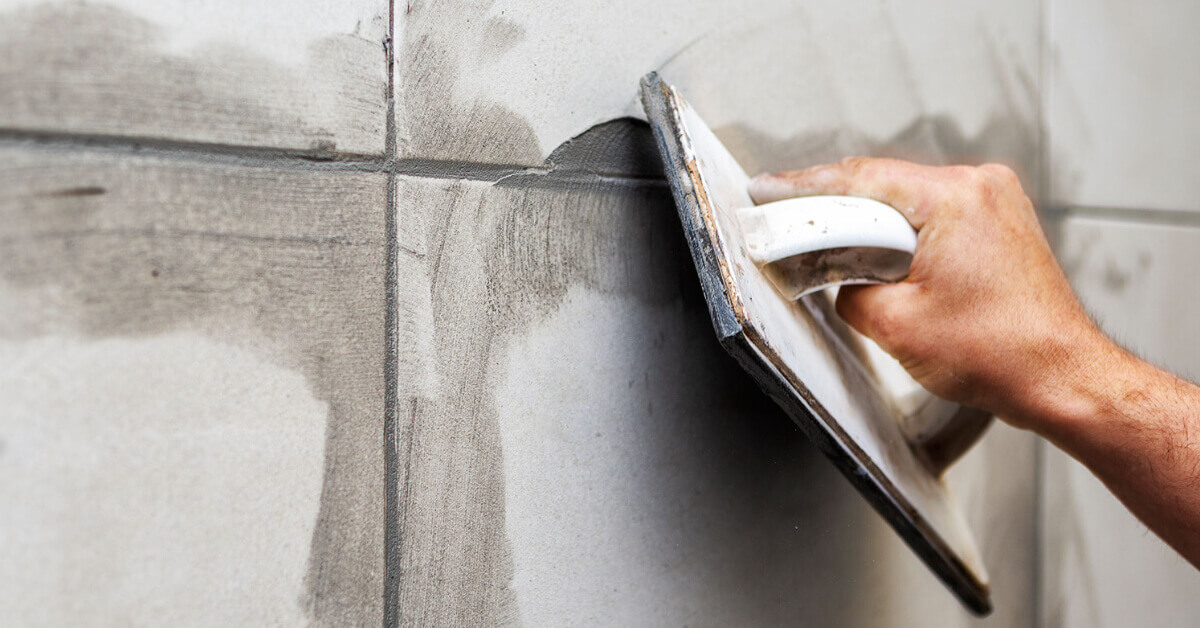
- Use a rubber float: When applying the grout between the tiles. Hold the float at a 45-degree angle and spread the grout evenly, ensuring it fills all the gaps between the tiles.
- Let the Grout Set: The grout will need to set for a few minutes. The grout will start to harden and become firm, which is called "sitting."
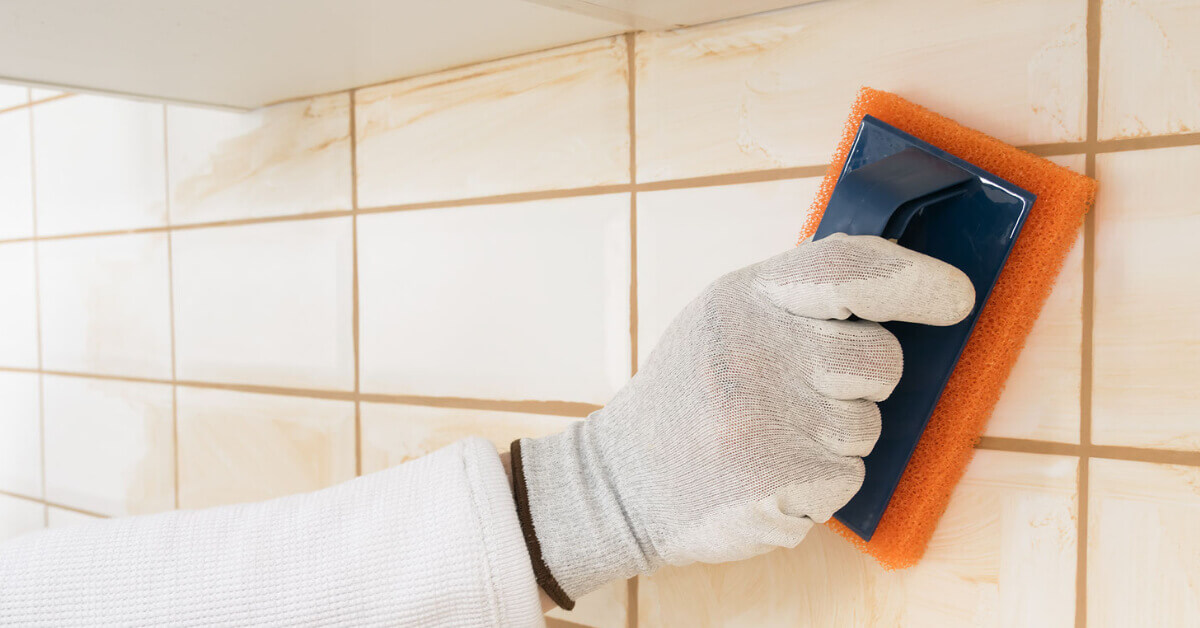
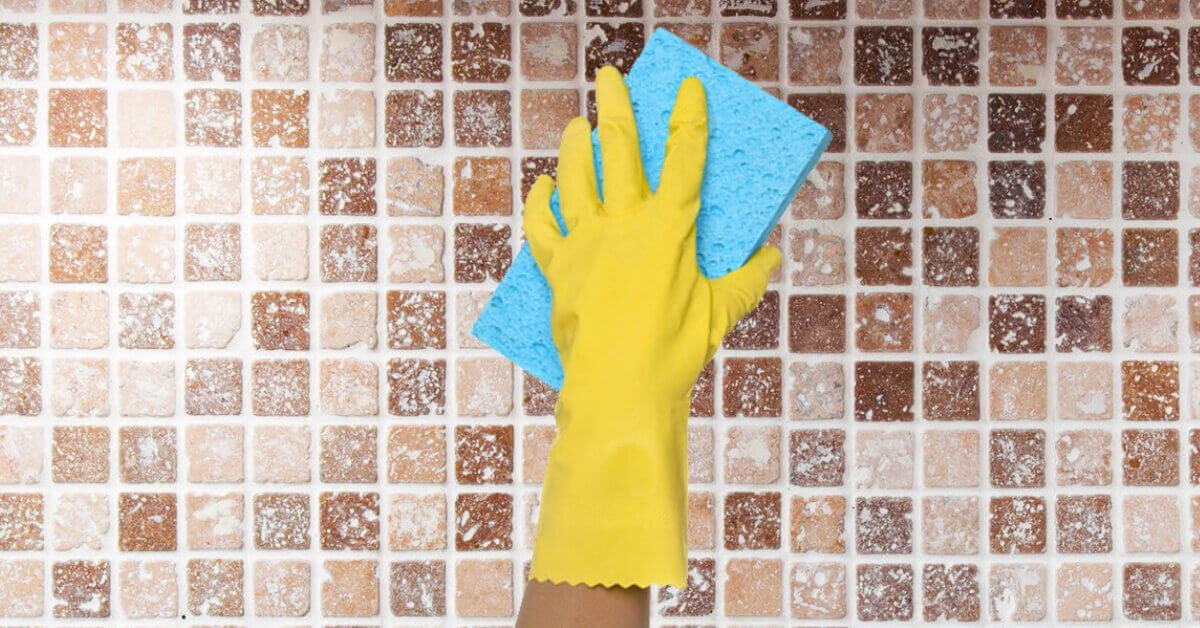
- Use a clean damp sponge or cloth to wipe the surface of the tiles: Remove excess grout and smooth the surface of the grout. Make sure to wipe carefully and not disturb the grout that is between the tiles.
- Let the grout dry completely: Follow the manufacturer's instructions for drying times. Drying times can vary depending on the type of grout you are using and the conditions in your RV.
Applying the grout correctly ensures that the tile backsplash is stable and secure and that the final result is neat and professional. It is important to note that you work in small areas and only apply a little grout at once, so it doesn't dry out before you can wipe the surface. Also, make sure to choose the right color of the grout to match or complement your tile color to achieve the desired look.
Step 8: Seal the Grout
After the grout has dried completely, it's important to seal it to protect it from moisture and stains and make it more durable. Here's how to seal the grout:
- Clean the grout surface: Ensure the grout is clean and free of debris or residue before applying the sealer.
- Choose a grout sealer appropriate for the type of grout you have used: There are different types of sealers available such as water-based or solvent-based, so make sure to choose one suitable for the grout you have used.
- The sealer should be used according to the manufacturer's instructions: Most sealers are applied using a brush or roller and should be applied in a thin, even layer.
- Allow the sealer to dry completely: Follow the manufacturer's instructions for drying times, which can vary depending on what type of sealer you are using and the conditions in your RV.
- Reapply the sealer as necessary: Depending on the type of sealer you have used, you may need to reapply it periodically to maintain its effectiveness.
By sealing the grout, you can ensure that it is protected from moisture and stains, extending the life of your tile backsplash. It also makes it easier to clean and maintain, providing an extra layer of protection for your RV. Additionally, it helps to keep the grout color consistent over time, as unsealed grout can become discolored or stained.
It is important to note that before applying the sealer, you should test it in an inconspicuous area to ensure it will not change the color or affect the overall look of the tile backsplash.
Maintaining the RV Backsplash
Maintaining your new grouted kitchen wall tiles is important to ensure they stay looking great for years to come. Here are some tips for keeping your new grouted kitchen wall tiles:
- Clean regularly: Use mild detergent and warm water to clean the tiles and grout. Don't use harsh chemicals or abrasive scrubbers, as these can damage the grout and tiles.
- Seal the grout: As mentioned before, sealing the grout will protect it from moisture and stains. Make sure to reseal the grout periodically according to the manufacturer's instructions.
- Wipe up spills immediately: Any spills should be wiped immediately to prevent stains. Especially be careful with acidic liquids like lemon or vinegar, as they can damage the grout.
- Don't use a steam cleaner: Steam cleaners can damage grout, so it's best to avoid using them. If you need to clean the grout, use a grout cleaner specifically designed for this purpose.
- Regularly check for loose or cracked tiles: Loose or broken tiles can be a safety hazard and should be replaced or fixed as soon as possible.
- Keep the kitchen ventilated: Cooking and cleaning can generate steam, which can cause damage to the grout and tiles over time, so it is essential to keep the kitchen well-ventilated.
By following these tips installing a tile backsplash in an RV, you will ensure that your kitchen wall tiles stay looking great for years.
Alternative Types of Tiles to use that don't
Require as Much Work When Installing a Tile Backsplash in an RV
If you're looking for an alternative type of tile that doesn't require as much work when installing a tile backsplash in an RV, there are several options you can consider:
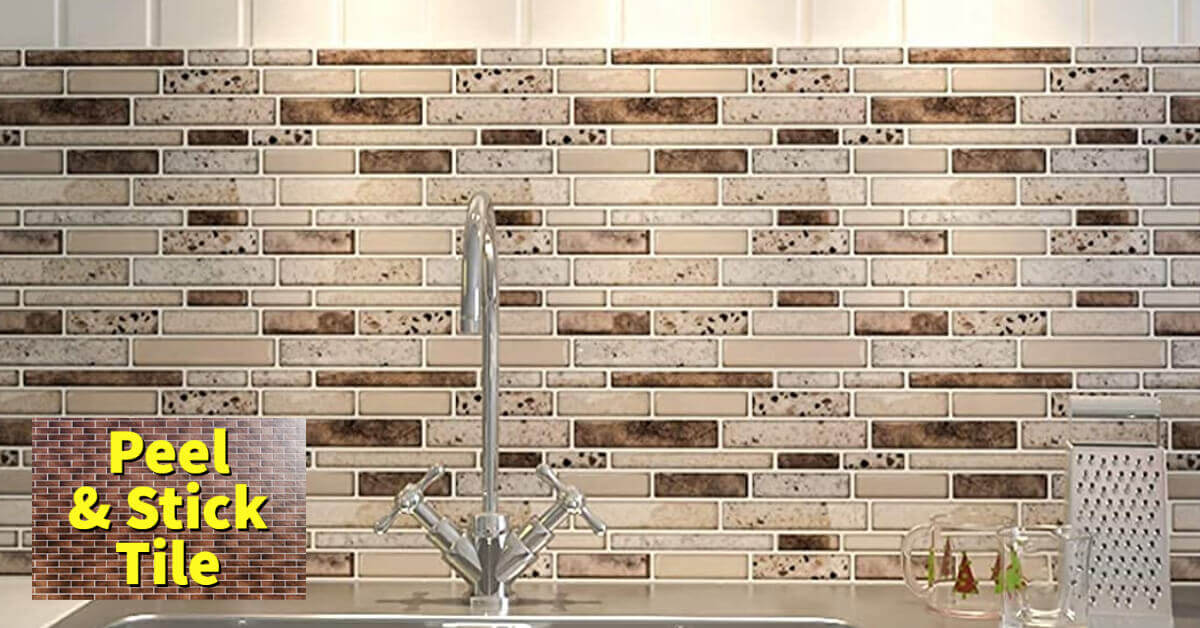
1. Peel-and-stick tiles: These tiles have a self-adhesive backing that allows you to peel off the paper and stick the tile onto the surface. This makes them very easy to install, as there is no need to measure, cut, or use tile adhesive.
2. Vinyl tiles: They are a great alternative to ceramic or porcelain tiles, as they are durable and easy to install. They come in several patterns and colors and can be cut to size with a utility knife. They also have an adhesive backing, which makes installation simple.
3. Laminate tiles: Laminate tiles are made of durable, water-resistant material and can be cut to size with a utility knife. They are also easy to install, as they come with self-adhesive backing.
4. Glass Mosaic Tiles: These are pre-mounted on a mesh backing, making them easy to install. They are easy to cut and fit, and the mesh backing allows easy alignment during installation.
Please note that these options may only be suitable for
some RVs. Depending on the sizes, shapes, and location of your RV's backsplash,
some of these options may need to be corrected, so it's always best to check
with a professional before making a final decision.
Enjoy your new Tile Backsplash
Your new tile backsplash is now installed and ready to be enjoyed. It not only adds a touch of elegance to your RV but also provides practical protection for the walls from spills and splashes.
Installing a tile backsplash in an RV is an excellent way to add a bit of elegance and personality to your home on wheels. By following these step-by-step instructions, you can install a beautiful and practical tile backsplash in your RV in no time. With patience and attention to detail, you can have a backsplash that you can enjoy for years.
Backsplash Q&A
What
materials are needed for installing a tile backsplash in an RV?
What
materials are needed for installing a tile backsplash in an RV?
The materials needed for installing a tile backsplash in an RV include tiles, tile adhesive, grout, a tile cutter or saw, a notched trowel, a grout float, a rubber float, a sponge, a bucket, and a sealer (if desired).
What
alternative types of tiles should I use when installing a tile backsplash in an RV?
What
alternative types of tiles should I use when installing a tile backsplash in an RV?
Alternative types of tiles used for an RV tile backsplash include peel-and-stick tiles, vinyl tiles, laminate tiles, glass mosaic tiles, and backsplash panels.
What
are some tips for maintaining grouted kitchen wall tiles?
What
are some tips for maintaining grouted kitchen wall tiles?
Some tips for maintaining grouted kitchen wall tiles include regularly cleaning with a mild detergent and warm water, sealing the grout, wiping up spills immediately, avoiding the use of steam cleaners, using a trivet or hot pad when placing hot items on the countertop, regularly checking for loose or cracked tiles and keeping the kitchen ventilated.
Why
should we seal the grout?
Why
should we seal the grout?
Sealing the grout helps to protect it from moisture and stains, which can cause the grout to discolor or deteriorate over time. Sealing also makes it easier to clean the grout and maintain the overall appearance of the tile backsplash.




Comments
Do you have a comment on this topic? You can leave your comment in the box below.